


Bake cheese cake
Had a fun time making my first cake with my mum! Brought some to office and everyone loves it.

Bake cheese cake top with whipped cream and hershey chocolate syrup

Ingredients
For the crust:
* Digestive Biscuit (1 1/3 cups) - I use the flour measurement - 170gram
* Butter-melted (1/3 cup) - I use Anchor New Zealand butter (not in picture) - 75gram
* Sugar (1/4 cup) - I use the icing sugar - 56.25gram
For the filling:
* Cream cheese-softened (16 oz) - I use Tatura cream cheese
* Eggs (3)
* Sweetened condensed milk (300ml)
* Lemon juice (1/4 cup) - About 1 - 2 lemon - 56.25ml/56.25gram
Preparation
For the crust:
You need to combine the butter; sugar and the digestive biscuit crumbs and press this into the bottom of a springfoam pan.
Baked this in preheated oven for 12 minutes at 163 degree C
Take it out and cooled fully (not in fridge) (by fan
For the filling:
Take a large mixer bowl and beat the cream cheese in this until it becomes fluffy. Once done, add the sweetened condensed milk. Beat the mixture till it smoothens. Now, add the eggs and the lemon juice. Mix this together. Pour this combination over the cooled crust.
Time to bake this combination! Bake it for at least 58 minutes at 149 degrees C.
Once done, leave in in oven (off) and open the door ajar.
Leave till oven cooled.
Let it cool down to the room temperature sitting on a wire rack. Can put a big bowl over the cheesecake to slower down the cooling for 1st hour. Subsequent 2 hour cool to room temp.
You need to chill it at least 5 hours before serving. Garnishing can be done as per your desire.
Usefull links:
Where and how much I bought the Cheese cake ingredients
Bake cheese cake recipe (without picture)
Spring form pan

Close up of Tatura Cream Cheese from Cold storage. I bought this as its affordable compare to Philadelphia cream cheese which cost double of Tatura cream cheese. My cheese cake also taste great with this cheese.
FOR THE CRUST:

Before starting on the crust, heat the oven first. I heat it for about 15 minutes.
The crust: Butter, sugar and digestive biscuit. Picture shows how it looks like after mixing all the ingredient. I crush the biscuit using a chopper.

Spread the crust evenly into the pan

Press the crust to the pan

Baked the crust 12 minutes at 168 Celsius. Cool the crust in room tempreture. Dont put in fridge
FOR THE FILLING:

Use hand mixer and beat the cream cheese until it become fluffy

Add the condense milk. Beat it till it smoothens

Add the egg and lemon juice

Pour it over the cooled crust. Bake it for 58min at 149 degree c. Actually for my oven, it took longer than 58min to cook. As the cake is not ready after 58 min. To test whether the cake is completely cook, just use a long stick and poke it in. If there is cake attach to the stick, it means that the cake is not ready. If the stick come out clean, it means the cake is ready.

Once done, leave in in oven (off) and open the door ajar.
Leave till oven cooled. Let it cool down to the room temperature sitting on a wire rack. Can put a big bowl over the cheesecake to slower down the cooling for 1st hour. Subsequent 2 hour cool to room temp.
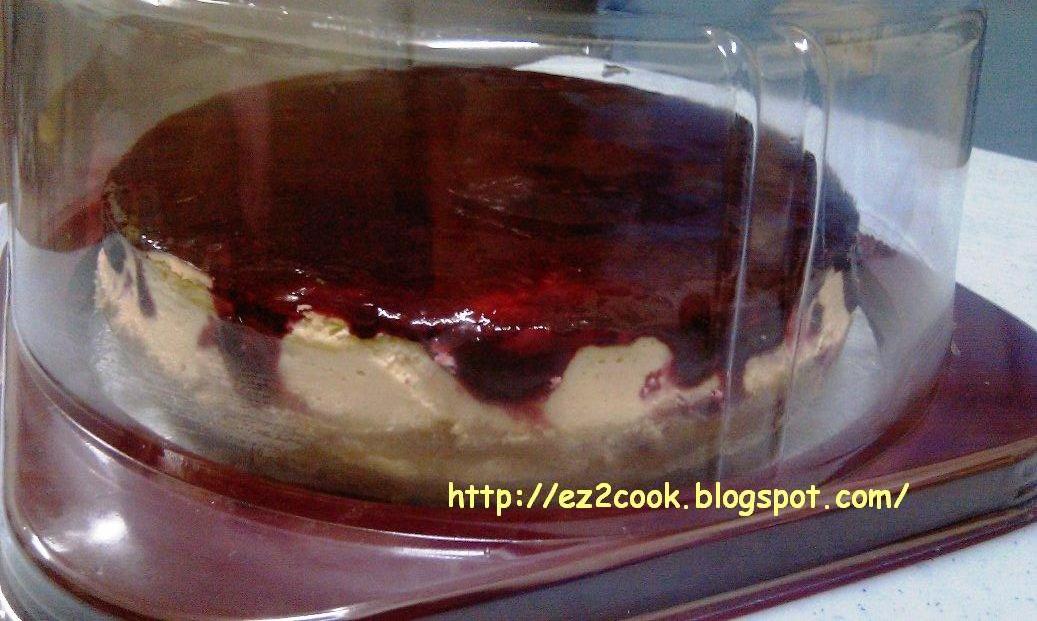
Since this is my first cheese cake, I made it plain with no garnishing. It taste so creamy and delicious. Once its done, I use a knife to make sure the cake does not stick to the side of the pan. I unlock the pan and cut the cake. The crust does not break into pieces if i cut carefully.



 Taking a quick shot before baking. I had so much fun swirling in the Raspberry and Chocolate sauce~! Maybe I had too much fun and over swirl a little! I make the cheesecake as usual but this round I wanted to make a marble cheesecake. After bouncing some ideas off my head I decide to try with Raspberry and Chocolate sauce~!
 Itadakimasu!! Time to eat~!! Yummy~!


 Bake cheese cake
 Bake cheese cake top with whipped cream and hershey chocolate syrup
 Ingredients
 Close up of Tatura Cream Cheese from Cold storage. I bought this as its affordable compare to Philadelphia cream cheese which cost double of Tatura cream cheese. My cheese cake also taste great with this cheese.
 Before starting on the crust, heat the oven first. I heat it for about 15 minutes.
 Spread the crust evenly into the pan
 Press the crust to the pan
 Baked the crust 12 minutes at 168 Celsius. Cool the crust in room tempreture. Dont put in fridge
 Use hand mixer and beat the cream cheese until it become fluffy
 Add the condense milk. Beat it till it smoothens
 Add the egg and lemon juice
 Pour it over the cooled crust. Bake it for 58min at 149 degree c. Actually for my oven, it took longer than 58min to cook. As the cake is not ready after 58 min. To test whether the cake is completely cook, just use a long stick and poke it in. If there is cake attach to the stick, it means that the cake is not ready. If the stick come out clean, it means the cake is ready.
 Once done, leave in in oven (off) and open the door ajar.


